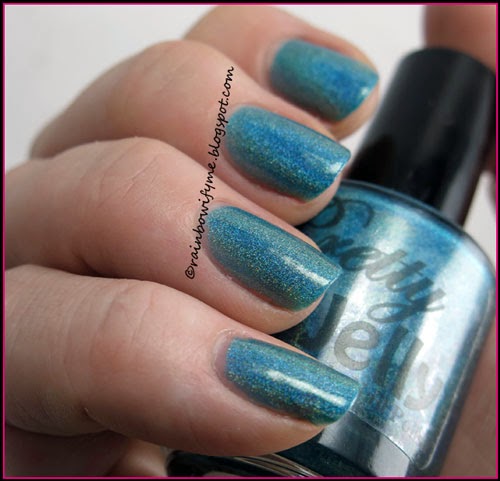
Emily de Molly ~ Moment of
Impact
Grape purple linear holo
If there’s something Emily de Molly is good at, then it’s making
spectacular holos. I love purple, as some of you know, and I love holos, so
Moment of Impact is right up my alley.
Let me tell you what I’m talking about!
The formula is great! There’s no need for that special aqua basecoat, I
just used my regular basecoat! The pigmentation is good too. I used two easy
coats for full opacity. Drying time between the coats is average.
Put on your sunglasses, hold onto your hats ‘cause here it comes! Two
coats, no topcoat:

Is that blindingly amazing or what?

Give me rainbows, baby!

Here’s a low light shot. The rainbows are still there and the colour
still looks great!

I wanted to add glittah!! I dug out Cheshire from CrowsToes, a lovely multisized
purple glitter with added accent golden hexes. It’s slowly but surely becoming
a favourite! I sponged glitter by the base of the nails, added a layer of
Ellagee’s topcoat Glass, and behold, here’s my final mani:

I fished for the golden glitters this time, because I was in the mood
for it.

Low light picture. I only noticed the huge purple hex on my ring finger
when browsing through the pics! :D

Verdict:
I love it. That’s all there is to say!
I love it. That’s all there is to say!
Number of coats: 2
Drying time: Average
Drying time: Average
Finish: Strong holo
Overall impression: Great colour, amazing holo. I love the quality of Emily de Molly-polishes
Overall impression: Great colour, amazing holo. I love the quality of Emily de Molly-polishes
Buy again: Yessirree
I bought Moment of Impact
from norwaynails.com.
You can find more info on
NorwayNail’s Facebook page, link here.
Norway Nails have kindly offered my readers
a 10% discount code. Just use the code RAINBOWIFYME10 at checkout, and
you'll be getting 10% off your purchase.